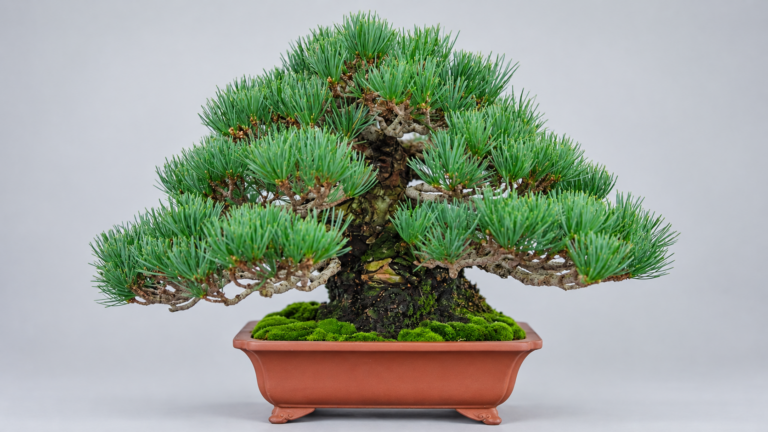
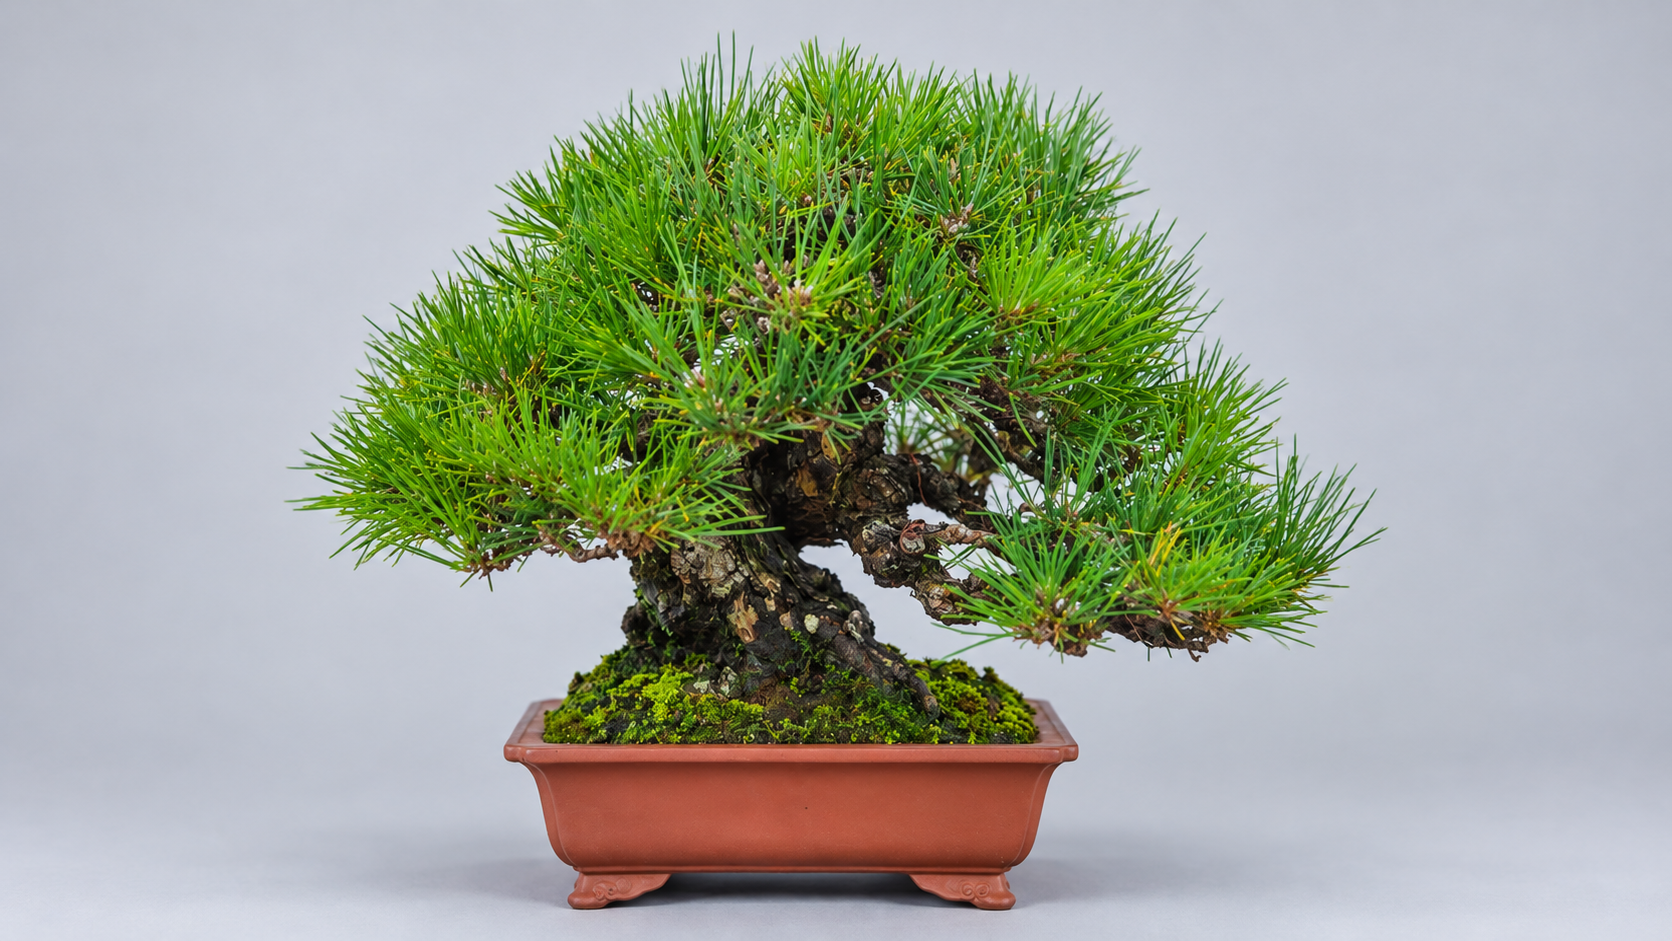
A classic Japanese bonsai with a powerful trunk and character that develops with age
Japanese black pine (kuromatsu) is prized for its dark green needles, powerful trunk, and bark that grows rougher with age. Working on its buds and needles helps develop finer branching, giving even a small potted tree the presence of a full-sized tree.
Learning what the tree needs day to day and when to do seasonal work will help you shape it over time.
- Basic Care
- Japanese Black Pine Bonsai Care Calendar
- Bud and Needle Work
- Pruning and Wiring
- Pests and Common Problems
Basic Care
Placement
Keep Japanese black pine outdoors in a sunny spot with good airflow throughout the year.
Japanese black pine likes plenty of sun. Too little light over time can lead to leggy growth and longer needles. Place the tree on a bench or stand where it gets sunlight and air can circulate around the pot.
Give it plenty of sun in spring and autumn. In summer, watch for dry soil and pots overheating in the late-afternoon sun or from heat radiating off nearby surfaces. Small pots dry out especially quickly, so consider placement and watering together.
Outdoor care is the general rule in winter as well. Where strong cold winds or prolonged freezing are a concern, shelter the tree under eaves or in a similarly protected spot. Give weakened trees and trees that have just undergone major styling extra protection. Keep indoor displays brief and return the tree outdoors afterward.
Read more about bonsai placement and sunlight
Watering
When the soil begins to dry, water thoroughly until water flows out of the drainage holes.
Make sure the water reaches all parts of the pot. If it runs off the surface, lightly moisten the soil first and then water again slowly. If the surface color is hard to judge, feel the soil just below it to check for moisture.
How quickly the soil dries depends on pot size, soil mix, sunlight, and wind. Check each pot individually and let the soil guide you rather than following a fixed schedule.
- Spring. The soil dries faster as new shoots grow.
- Summer. Watering in the morning may not be enough. Check the soil again during the day or in the evening.
- Autumn. The soil dries more slowly as temperatures fall. Space watering according to how quickly the soil dries.
- Winter. The soil dries more slowly, but the tree still needs water. In freezing weather, check and water during the day when the soil has thawed.
Even on rainy days, check whether water has reached the soil inside the pot. Avoid watering repeatedly while the soil is still wet or letting the root ball dry out completely.
Read more about watering and misting
Fertilizing
Fertilize to support spring growth and help the tree build strength in autumn.
Place solid organic fertilizer on the soil surface and supplement it with liquid fertilizer as needed. Follow the product directions for amounts and how often to apply or replace it, then adjust according to the tree’s vigor. Remove spent fertilizer.
Feed in spring as growth picks up. Give trees that will be decandled enough strength to produce a second flush. Autumn feeding helps prepare the tree for the following spring. Periods of intense heat and cold winter weather are generally good times to pause feeding.
One approach for a tree being decandled is to remove solid fertilizer at the time of the cut and resume feeding as the second flush grows. For a tree you are growing out to thicken the trunk, prioritize feeding through the growing season.
Hold off on fertilizing just after repotting or when the roots are in poor condition. If the tree is struggling, check drainage, root health, and signs of pests or disease before increasing fertilizer.
Read more about bonsai fertilizer
Soil and Repotting
Use a soil mix that drains well while holding enough moisture for the roots.
Mix akadama with materials such as Kiryu grit or pumice. Choose particle sizes and proportions that suit the pot and where you keep the tree. Sift out fine particles and use a pot with drainage holes.
Look for buds beginning to swell in early to mid-spring, and adjust repotting time for your local weather. Repotting every few years is a rough guide. Look for signs such as water taking longer to soak in, roots circling densely, or the soil mix breaking down.
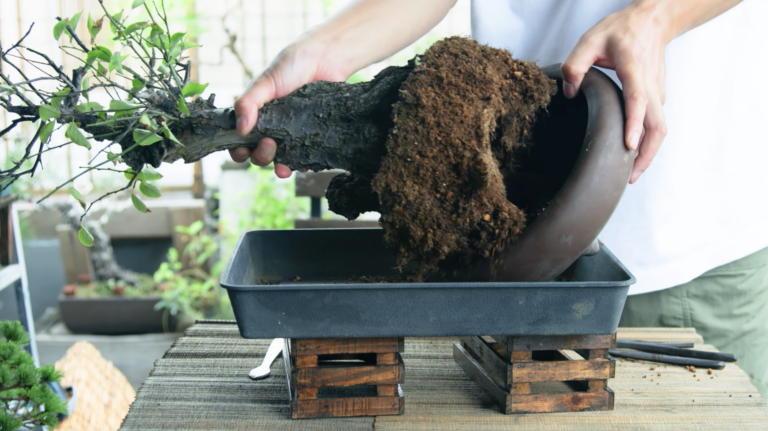
Remove some of the old soil, tidy crowded roots, and plant in fresh soil. Secure the tree so it cannot shift in the pot. During routine repotting, avoid removing all the old soil and washing the roots bare, or cutting too many roots at once.
Afterward, protect the tree from strong wind and extremes of heat or cold. Water according to how quickly the soil dries, and wait until the tree recovers before fertilizing or doing heavy work.
Read more about soil, drainage mesh, and tie-down wire
See the basic steps for repotting bonsai
Japanese Black Pine Bonsai Care Calendar
Use the seasons where you live as a guide. Check the tree’s stage of growth and your local weather to decide when to work and which tasks it needs.
| Spring | ||
|---|---|---|
| Early | Mid | Late |
| Repotting Buds begin to swell |
||
| Pruning & styling | Candle pinching Before needles open |
|
| Fertilizing | ||
| Summer | ||
|---|---|---|
| Early | Mid | Late |
| Decandling Spring needles open |
Decandling e.g. shohin |
Bud selection Compare bud vigor |
| Needle thinning | Check summer buds | |
| Autumn | ||
|---|---|---|
| Early | Mid | Late |
| Bud selection As needed |
Pruning & styling | |
| Needle thinning | ||
| Fertilizing | Old needle removal | |
| Wiring | ||
| Winter | ||
|---|---|---|
| Early | Mid | Late |
| Old needle removal As needed |
Pruning & styling Before buds swell |
|
Select a task to jump to its explanation.
Japan reference (Kanto lowlands) · Spring Mar–May · Summer Jun–Aug · Autumn Sep–Nov · Winter Dec–Feb
In late spring, check the tree’s vigor before deciding whether to decandle. During rainy spells, watch how well the pot drains. In summer, watch for dry soil and overheating pots. In winter, check soil moisture and protect the tree from cold winds and freezing.
Choose which tasks to do each year based on the tree. Check for pests, disease, and wire biting into the bark throughout the year. Avoid heavy pruning or bending in the coldest part of winter.
Bud and Needle Work
Candle Pinching | Control Spring Shoot Growth
In spring, the elongated shoots are called candles, or midori in Japanese, before their needles open. Pinch the tips of strongly growing candles with your fingers to balance growth among branches. Mid to late spring is a rough guide.
Compare long and short candles. Shorten the stronger ones and leave weaker ones longer or let them grow untouched. Let shoots grow freely where you want to thicken the trunk or a branch.
Decandling | Refine Branches and Needles with a Second Flush
Decandling involves cutting off spring shoots after their needles open and growing the second flush that follows. It helps increase branching and produce shorter needles in proportion to the size of the tree.
Early to midsummer is a rough guide. Adjust the timing according to the length of your growing season and the size of the tree. Cutting earlier gives the second flush more time to grow, while cutting later gives it less. This difference also affects needle length.
Use scissors to cut near the base of the current year’s shoot, taking care to leave last year’s growth intact. Keep the needles around the cut and avoid damaging them.
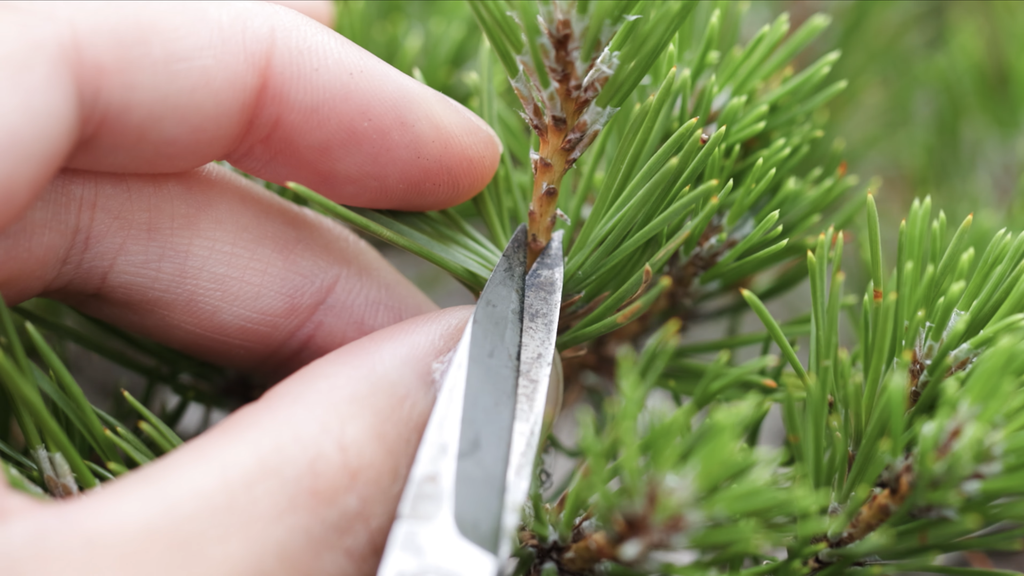
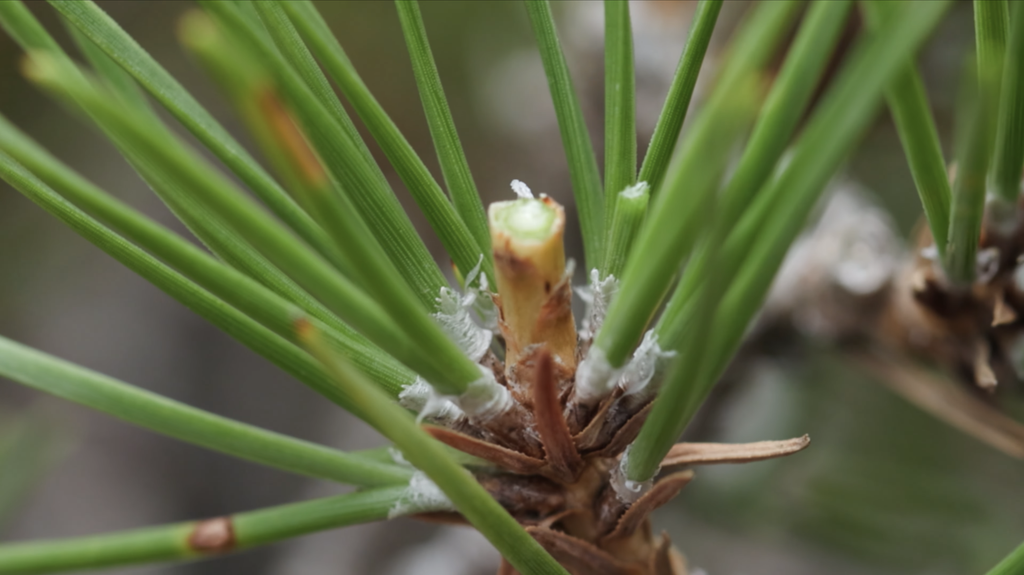
Decandle only vigorous trees. Skip it on weak trees or trees still recovering from repotting. If you are growing a tree out to thicken the trunk, let the shoots extend. After decandling, monitor the second flush and how quickly the soil dries.
Use species-specific techniques for other pines such as Japanese white pine, since they respond differently to decandling.
Bud Selection | Choose Which New Buds to Keep
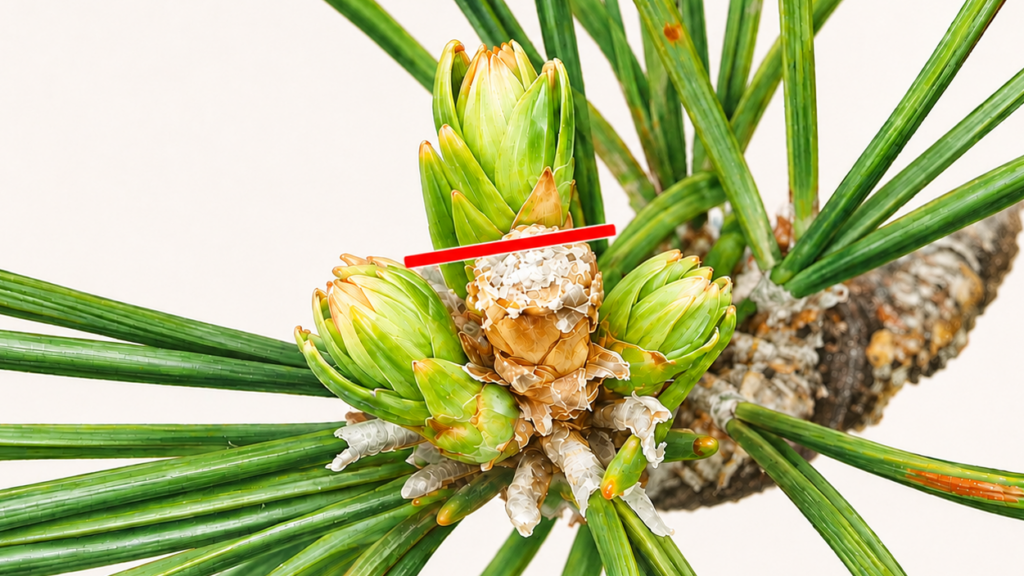
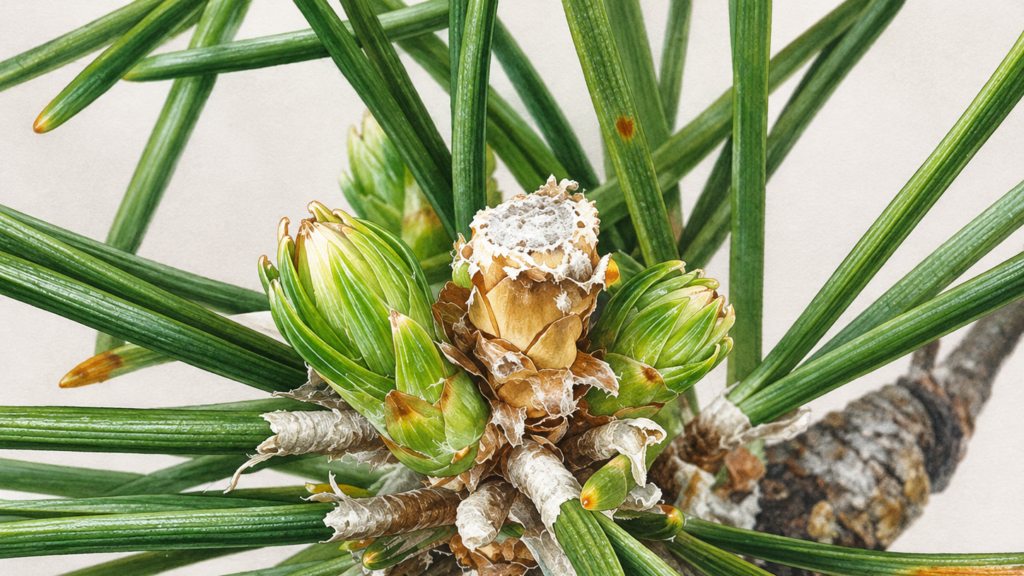
After decandling, several buds may emerge from the same spot. Select the ones you want to keep. This is usually done from summer to early autumn, once you can judge their direction and vigor.
If you want a branch to fork in two directions, generally keep two buds with suitable directions and similar vigor. Keeping many buds in one spot can crowd that area and cause it to swell. Use tweezers or fine scissors and take care to leave the selected buds intact.
Needle Thinning and Old Needle Removal | Adjust Foliage Density
Needle thinning adjusts the amount of foliage on each branch. It can be done when decandling or in autumn. Remove more needles on strong branches and leave more on weak ones to balance vigor. Thinning also helps light and air reach the inner branches.
Old needle removal targets needles from previous years and can overlap with thinning. Late autumn to early winter is a rough guide. Start with dead needles and old needles in crowded areas.
Distinguish this year’s needles from older ones and adjust how much you remove on weaker branches. Support the branch when pulling needles so you can work without damaging buds or bark.
Pruning and Wiring
Pruning
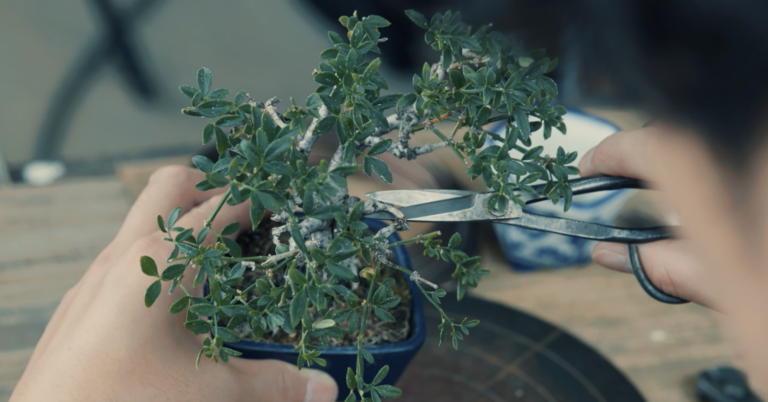
Remove unwanted branches and cut back long shoots to shape the tree. Before cutting, identify the buds and small branches you want to keep. Older wood with no needles or buds may fail to produce new growth if you cut back into it.
For unwanted branches and light styling, autumn to early winter is a general guide. Heavier pruning is often done before spring growth starts. Adjust for the amount of work and your climate, and space out demanding jobs such as repotting and heavy pruning.
Read more about when and how to prune bonsai
Applying and Removing Wire
Use wire to adjust branch direction and position. Autumn to early winter and the period before spring growth are common times to wire, depending on the tree’s vigor. Support branches as you bend them gradually. After a major bend, protect the tree from cold winds and freezing.
As branches thicken, wire can bite into the bark. Check it often, especially during the growing season. If it begins to bite in, use wire cutters to remove it in short sections.
For help choosing a suitable wire material and thickness, see our guides to copper wire and aluminum wire.
Pests and Common Problems
Watch for aphids, scale insects, spider mites, and needle-eating larvae. While watering, inspect new shoots, needles, and inner branches for spots, fine webbing, sticky residue, or feeding damage.
| What you notice | What to check |
|---|---|
| Older inner needles turn yellow | Whether the tree is naturally shedding old needles or the newer needles are affected too |
| Needle tips or newer needles change color | Too little water, overly wet soil, root problems, or signs of pests or disease |
| Needles are long and shoots grow leggy | Light, fertilizer, and how you manage the buds |
| Water soaks in slowly or the soil stays wet | A clogged soil surface, poor drainage, crowded roots, or other root problems |
Check the soil, roots, and the foliage as a whole before attributing changes in needle color to a lack of water. Give the tree enough light and airflow, and clear away dead and fallen needles to help prevent problems.
You can see how Japanese black pine is decandled in the video below.