Bonsai repotting involves trimming overgrown roots and replacing old soil. It makes room for new roots and improves the movement of water and air through the soil.
Signs Your Bonsai Needs Repotting
- Water is slow to soak into the soil or drain from the bottom of the pot.
- Roots densely fill the sides and bottom of the pot, circling around repeatedly.
- The soil particles have broken down and become compacted.
These are signs to consider repotting at the right time for the species. Repotting does not have to be an annual task: the interval depends on the species, growth rate and pot size.
When to Repot
For many temperate trees grown outdoors, the usual time is as the buds begin to swell, before new leaves open. Around Tokyo, Japan, this often falls in early spring.
Some species are repotted after flowering or in autumn. Choose the timing for your species and local growing conditions, especially in climates without a cold winter.
Preparing for the Work
Have your pot, soil, drainage mesh, tie-down wire, root rake or hook, root scissors, chopstick and watering equipment ready. Fit the mesh and wire to the pot, and sift dust out of the soil before you begin.
Our bonsai repotting supplies guide explains how to choose a pot, soil and other materials. Finish these preparations before taking the tree out of its pot so the roots are not left exposed and drying out.
Basic Bonsai Repotting Steps
1. Remove the Tree from the Pot
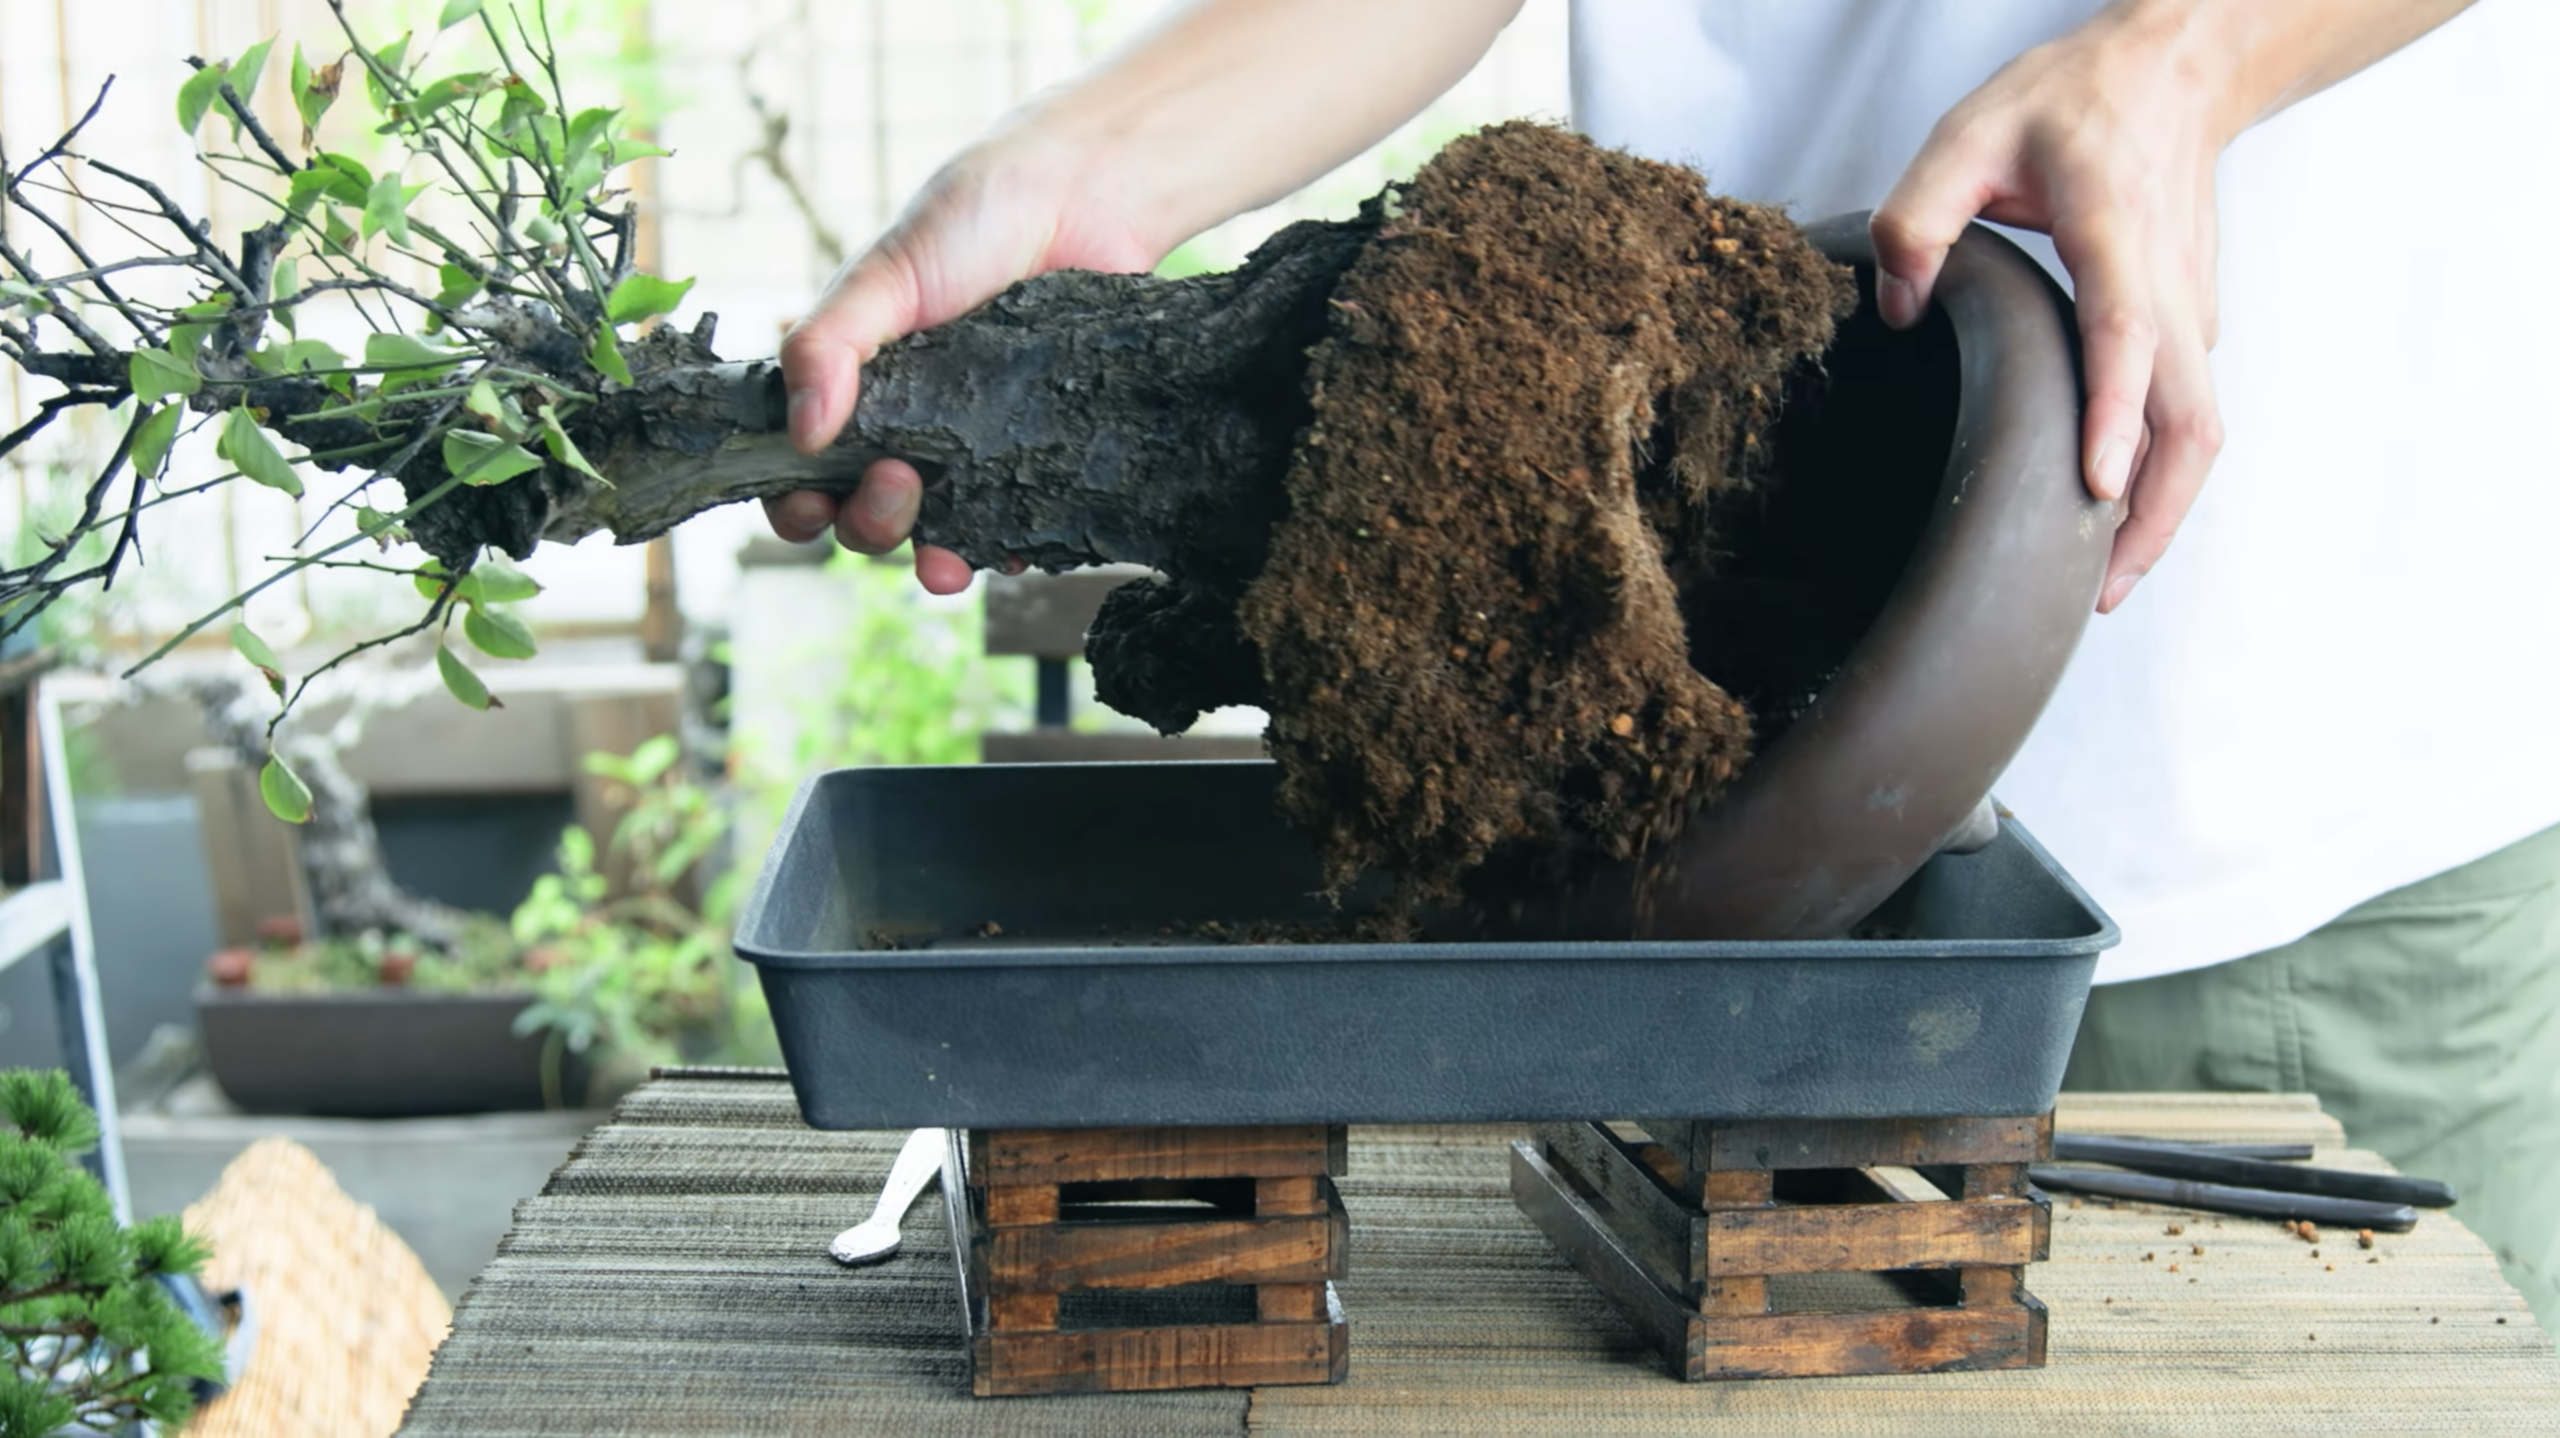
Cut and remove the wire securing the tree to the pot, then lift the tree out with the soil intact. If it is stuck, gently loosen the soil around the inside edge of the pot. Avoid pulling hard on the trunk.
2. Loosen and Trim the Roots
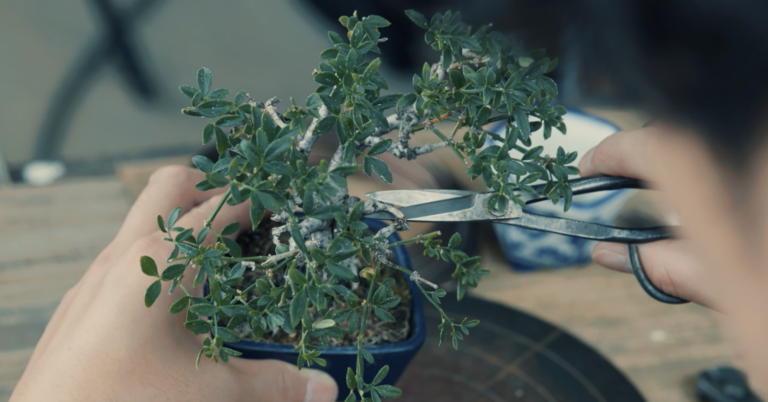
Gently remove old soil from the sides and bottom, loosening tangled roots as you work. Preserve fine roots while trimming overlong or damaged roots.
How much soil and root to remove depends on the species and the tree’s vigour. With pines in particular, retain some of the old soil and leave part of the root system undisturbed.
3. Position the Tree
Add some soil to the prepared pot and decide on the tree’s position and planting height. Use a pot that accommodates the roots without forcing them to bend, and loosely secure the tree with wire.
4. Add Soil and Secure the Tree
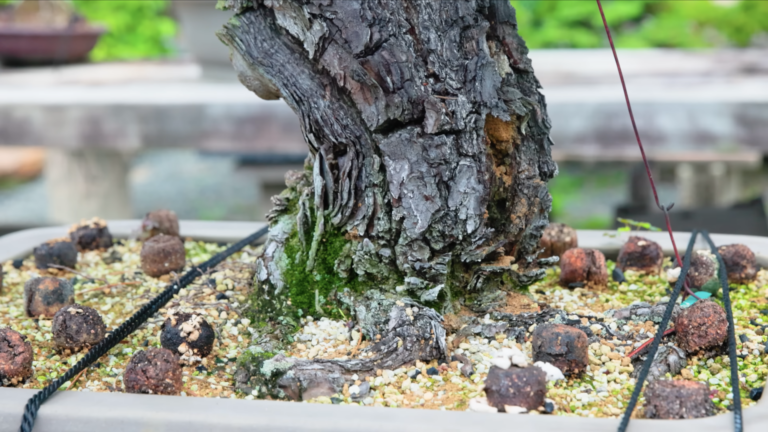
Add soil around the roots, using a chopstick gently to work it into the gaps. Take care not to damage the roots. Finally, tighten the wire to hold the tree firmly in place.
5. Water Thoroughly
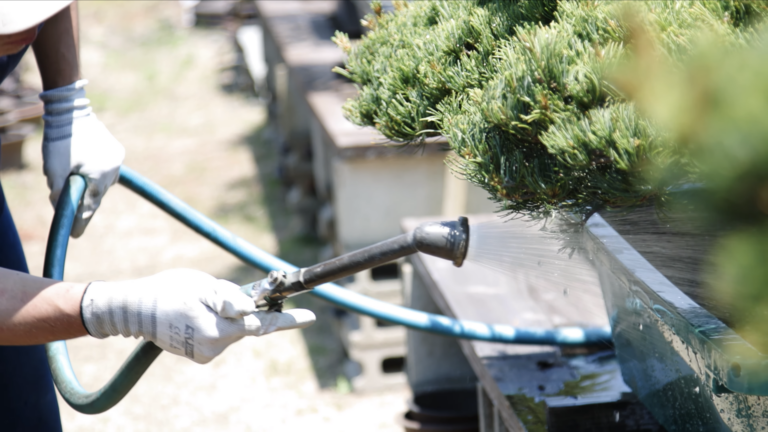
Water thoroughly until water flows freely from the drainage holes. If fine soil particles make the runoff cloudy, continue watering gently until it runs clearer.
Aftercare
After repotting, keep the tree sheltered from strong wind, intense sun and frost. As it recovers, gradually return it to the light conditions appropriate for the species.
Check the soil daily and water according to how dry it is. Soil may dry differently after repotting. For more on timing and technique, see our bonsai watering guide.
Wait until the tree has recovered and shoots or leaves are growing steadily before resuming fertilizer. Avoid combining repotting with heavy pruning or other demanding work.
You can also see the repotting process in this video.