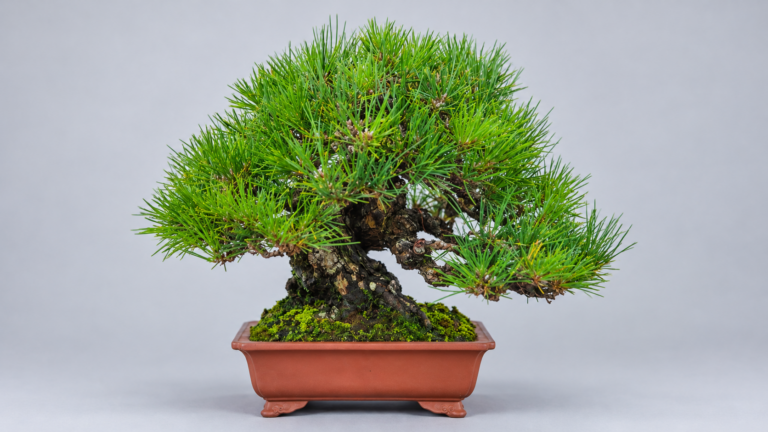
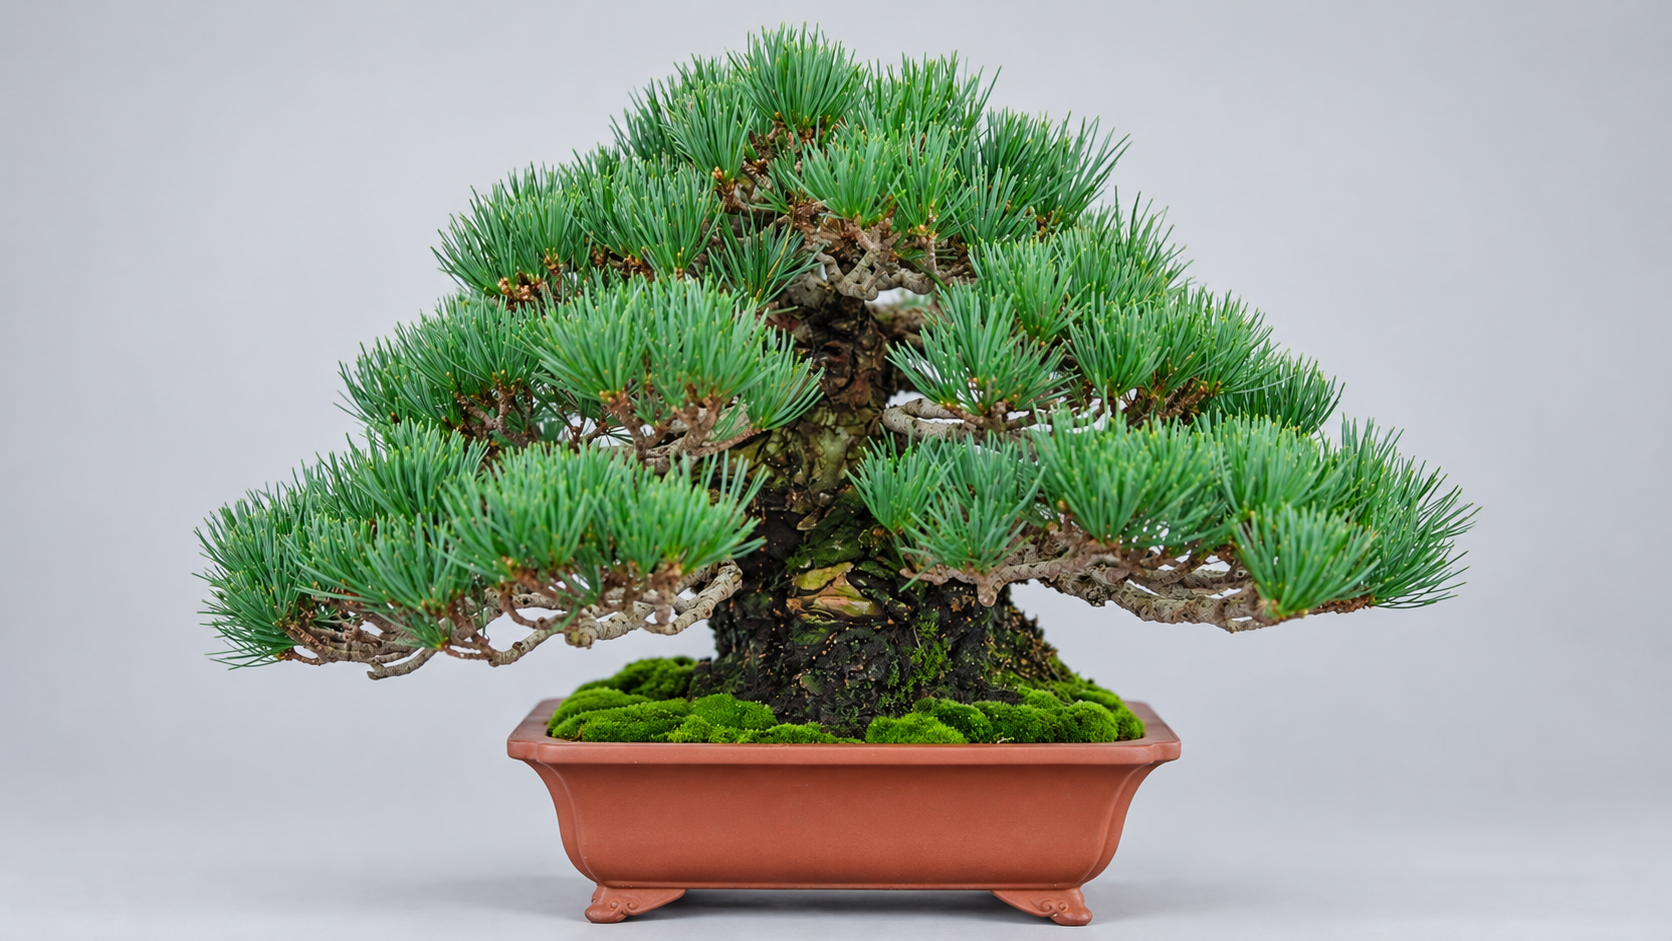
Japanese white pine bonsai are known for their soft needles, which grow in bundles of five.
Japanese white pine (goyomatsu) has white stripes on its needles, giving the branch tips a bluish appearance. When shaping the branches, watch where the spring buds emerge and how much they extend. Pinch the tips of strongly growing shoots while keeping weaker buds and buds on branches you want to extend, gradually developing the branching.
- Basic Care
- Japanese White Pine Bonsai Care Calendar
- Bud and Needle Work
- Pruning and Wiring
- What to Check When Needles Change Color
Basic Care
Placement
Grow Japanese white pine outdoors in a sunny spot with good airflow throughout the year. The foliage can become dense, so leave space between pots and allow air to circulate through the branches. In winter, avoid places exposed to strong cold winds or prolonged freezing of the soil. Provide protection under eaves or in a similar sheltered spot according to your local climate.
Read more about bonsai placement and sunlight
Watering
When the soil surface begins to dry, water thoroughly until water flows from the drainage holes. How quickly the soil dries depends on the size of the pot, its location, and the weather. Small pots dry out quickly in summer, while prolonged rain can leave the soil wet for longer, so check each pot individually. Even in winter, water if the soil is dry, choosing a time when it is not frozen.
Read more about watering and misting
Fertilizing
Use the spring and autumn growing periods as a guide, adjusting fertilizer to the tree’s vigor. Adjust the amount depending on whether you are growing a young tree to thicken its trunk and branches or maintaining the compact foliage of a more developed tree. Once the shape is established, feed more sparingly while watching the growth of buds and needles.
If using solid fertilizer, follow the product directions and adjust the amount and replacement timing to the size of the pot. After repotting, wait for the tree to recover before feeding. During sustained midsummer heat, pause feeding according to the tree’s growth.
Read more about bonsai fertilizer
Soil and Repotting
Choose soil with good drainage and aeration. Mix akadama with materials such as Kiryu grit, and select a particle size that suits the pot and how quickly the soil normally dries.
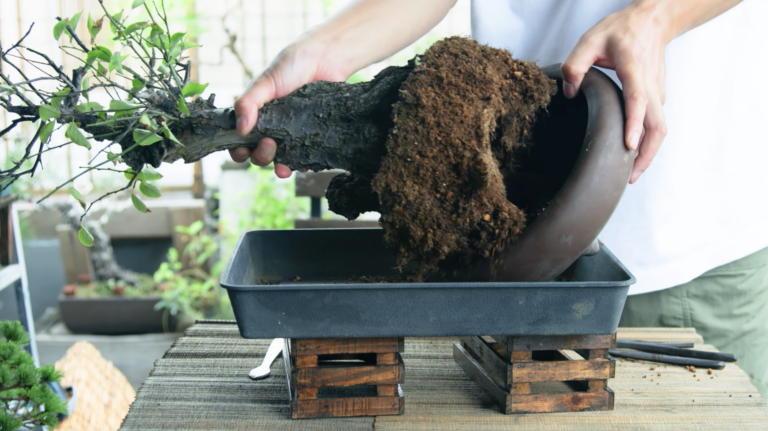
Spring, as the buds begin to grow, is a general guide for repotting. Look for signs such as water taking longer to soak in, roots circling inside the pot, or soil particles breaking down. Loosen the root ball gradually. If old soil has become compacted, replace it over several repottings as needed. After planting, secure the tree so it cannot move in the pot.
See the basic steps for repotting bonsai
Japanese White Pine Bonsai Care Calendar
Use your local seasons and the tree’s stage of growth to decide when to work. Watch spring shoot growth and whether the new needles have hardened, then adjust for your climate and the condition of the tree. The Japan month reference below follows the lowland Kanto region.
| Spring | ||
|---|---|---|
| Early | Mid | Late |
| Repotting Buds begin to grow | ||
| Candle pinching Before needles open | ||
| Fertilizing | ||
| Summer | ||
|---|---|---|
| Early | Mid | Late |
| Fertilizing | ||
| Old needle removal New needles have hardened | ||
| Autumn | ||
|---|---|---|
| Early | Mid | Late |
| Old needle removal New needles have hardened | ||
| Pruning & styling Cutback pruning as needed | ||
| Wiring | ||
| Fertilizing | ||
| Winter | ||
|---|---|---|
| Early | Mid | Late |
| Protection from cold winds & freezing According to local climate | ||
Select a task to jump to its explanation.
Japan reference (Kanto lowlands) · Spring Mar–May · Summer Jun–Aug · Autumn Sep–Nov · Winter Dec–Feb
Bud and Needle Work
Candle Pinching | Control Spring Shoot Growth
The soft shoots that extend in spring are called candles, or midori in Japanese. Before the needles open, compare the growth on each branch and use your fingers to pinch the tips of strongly growing candles. Leave weaker buds and buds on branches you want to extend. Japanese white pine normally develops its branches using a single spring flush.
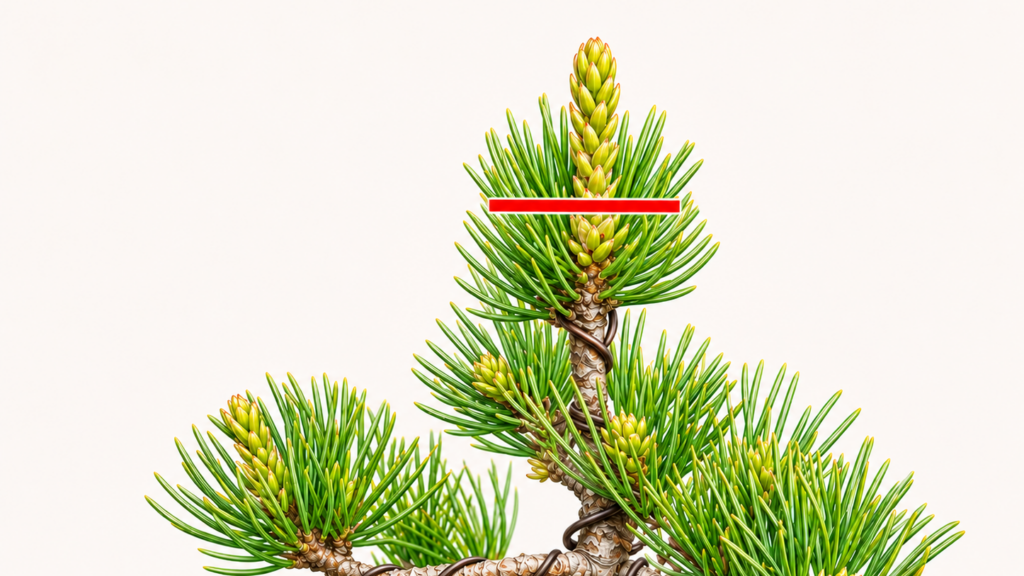
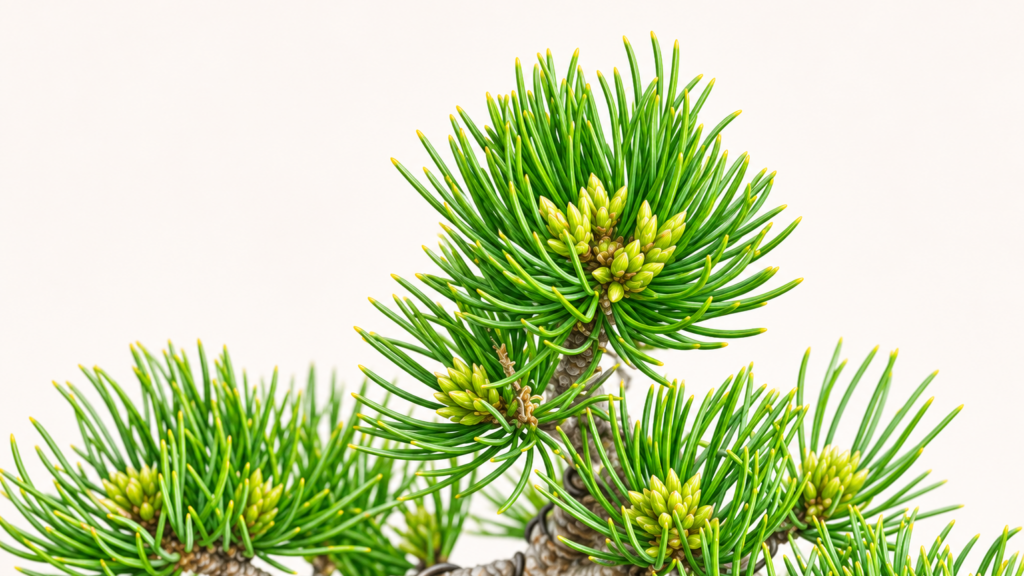
For decandling to encourage a second flush on Japanese black pine, see our Japanese black pine bonsai care guide.
Old Needle Removal | Let Light and Air Reach Inner Branches
From late summer into autumn, once the new needles have hardened, check the older needles inside the branches. Start with dead needles and older needles in crowded areas, allowing light and air to reach the inner branches. When removing older needles that are still green, take care not to damage the buds you are keeping or the bark.
Pruning and Wiring
Pruning and Styling | Adjust Branch Length and Density
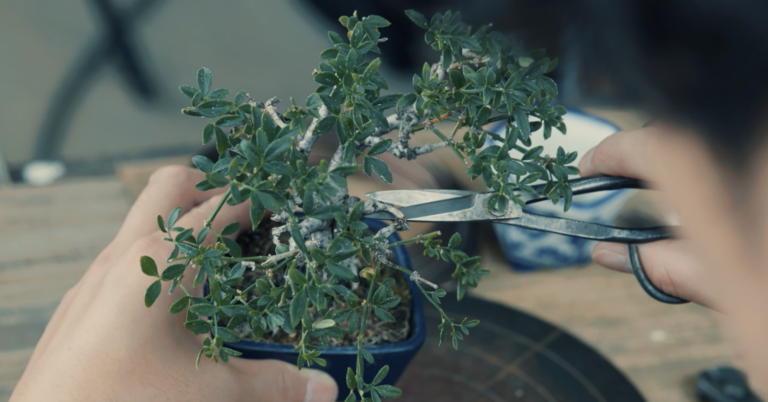
Work mainly in autumn to tidy branches extending beyond the outline and small branches in crowded areas. First decide which branches you want to keep, then make room for light to reach the inner twigs. Branch tips may also be tidied as new shoots extend in spring. Choose the timing according to branch thickness, the amount to remove, and the tree’s vigor.
Cutback Pruning | Reducing Tree Size
To reduce the size of the tree, cut elongated branches back to an inner bud or a small branch with needles that you want to keep. Before cutting, check that a suitable bud or branch remains closer to the trunk than the cut. Cutting back into old wood without needles may lead to dieback if no new buds emerge. For heavier cutbacks, use autumn, when growth has slowed, as a guide and proceed according to the tree’s vigor.
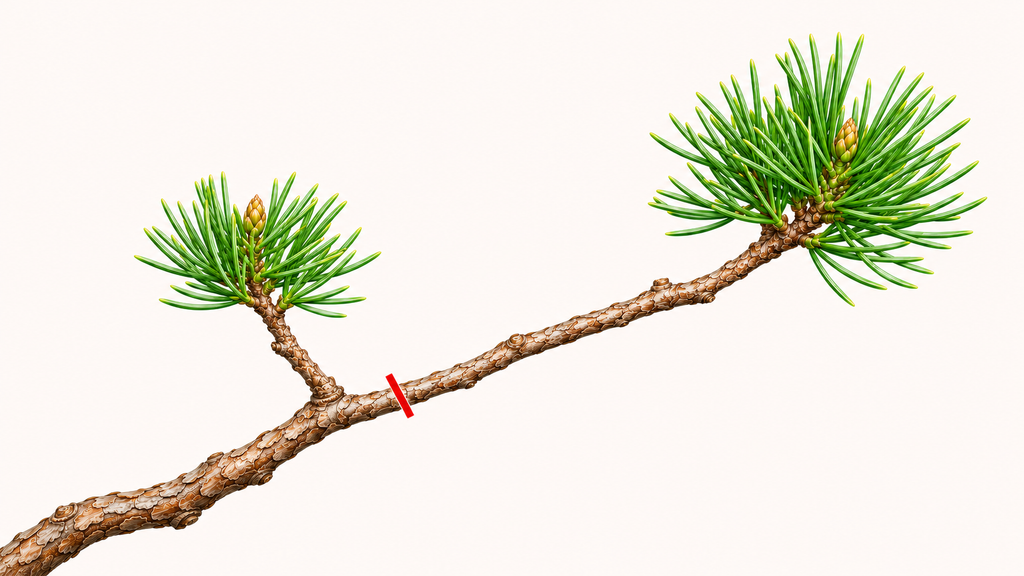
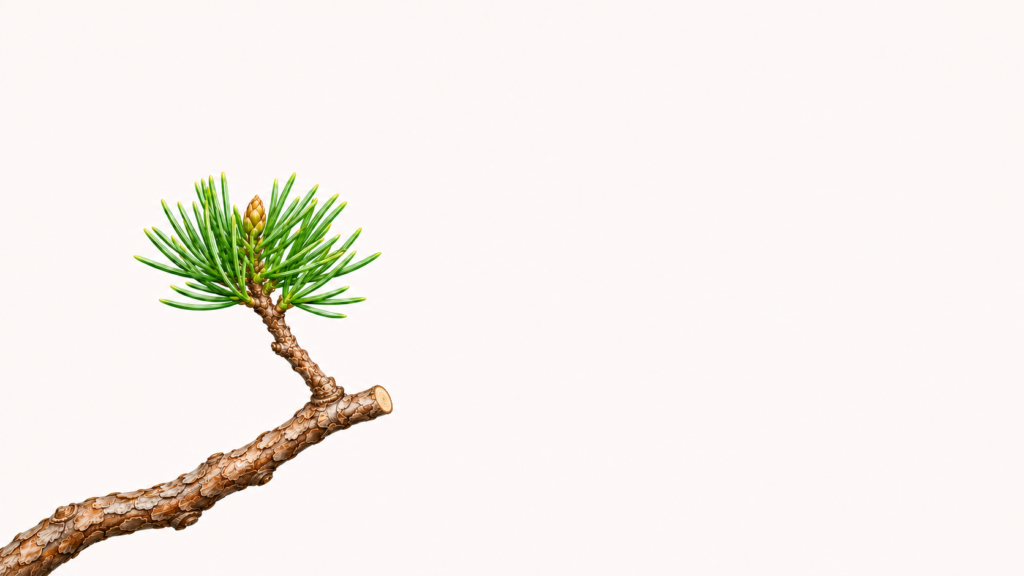
Read more about when and how to prune bonsai
Wiring | Adjust Branch Direction and Position
From autumn onward, once growth has slowed, use wire to adjust branch direction and position. Support each branch and bend it gradually. After wiring, check that the wire is not biting into the bark. Branches begin to thicken as growth resumes in spring, so use wire cutters to snip each turn and remove the wire before it bites in.
You can see how to wire Japanese white pine branches in this BONSAI CLUB TOKYO video.
For help choosing wire, see our guides to copper wire and aluminum wire.
What to Check When Needles Change Color
If older inner needles turn brown in autumn while the newer needles remain green, the tree may be naturally shedding old needles. If newer needles or branch tips also change color, check how quickly the soil dries, drainage, sunlight, and signs of pests or disease on the branches and needles.